Learning to do a pull-up from zero is not a test of willpower but of sequence. First your body has to learn to hang and control the shoulder blades, then to pull itself in an easier position, then to lower slowly, and only after that to lift its full weight. Skipping a step almost always ends in kipping, half reps and getting stuck at zero. Below is a test to choose your stage and the rules for when to move on.
In short: where to start and how often to train
- The first step is a four-exercise test: dead hang, scapular pull-ups, Australian pull-ups and a slow lowering. Based on it you start not from week one of someone else's plan but from your own stage.
- 2–3 sessions a week with a rest day between them. Each session takes 30–40 minutes including the warm-up.
- Move to the next stage by a criterion, not by the calendar. Hit the stage target cleanly in two sessions in a row — move on.
- The time to your first pull-up is individual: it depends on your starting stage, body weight, consistency and recovery. Someone starting at stage 3–4 usually sees their first reps noticeably sooner than someone starting with hangs. If you want a plan with a calendar, there is a ready-made 8-week program.
Level test: four checks
Do the test on a separate day, fresh and after a warm-up: 5 minutes of arm and shoulder circles and a couple of easy sets of scapular pull-ups. Write down each result — these numbers will show your progress later.
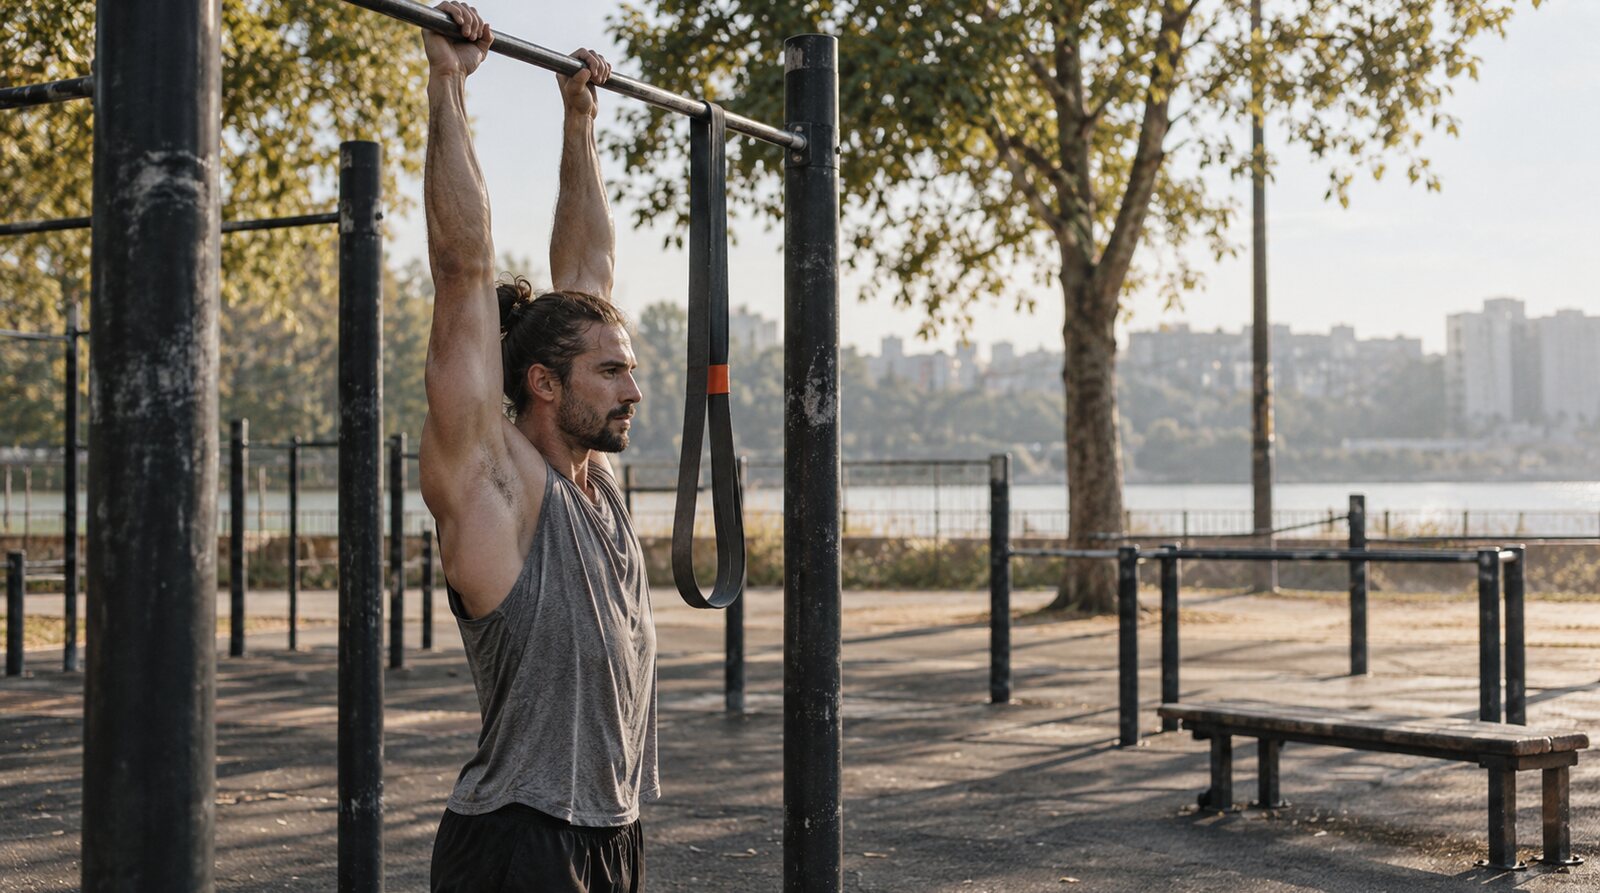
- Dead hang with straight arms. Grip slightly wider than shoulders, shoulders pulled away from the ears, feet off the floor. Count the seconds you keep your shoulders under control, not until your fingers give way.
- Scapular pull-ups. From a hang, without bending the elbows, squeeze and depress the shoulder blades so the body rises a couple of centimetres, then return to the hang. Count clean reps.
- Australian pull-ups. Bar at waist height, feet on the floor, body straight from heels to crown. Pull your chest to the bar and lower to straight arms. Count reps without the hips sagging.
- Negative. From a bench or step, take the top position — chin above the bar — and lower as slowly as you can to straight arms. Time one rep in seconds.
| Test result | Where to start |
|---|---|
| Hang under 20 seconds or fewer than 5 scapular pull-ups | Stage 1 — hang and shoulder blades |
| Hang of 30 seconds or more and 8+ scapular pull-ups, but fewer than 8 Australian pull-ups | Stage 2 — horizontal pulling |
| 12 or more Australian pull-ups, negative shorter than 3 seconds | Stage 3 — negatives |
| Negative of 5 seconds or longer without dropping at the bottom | Stage 4 — assisted pull-ups |
| 1–3 clean pull-ups | Stage 5 — first reps and short sets |
If your results fall into different rows, start from the earlier stage: the weakest link sets the pace of the whole progression. The numbers in the table are working guidelines for choosing a starting point, not standards.
Stages and the rule for moving on
Each stage has one main exercise and one supporting exercise. Rest between sets is 1.5–3 minutes: pull-ups like fresh muscles, not short breaks. Leave 1–2 reps in reserve in every set — training to failure does not speed things up here, it breaks your technique.
| Stage and exercises | Volume and when to move on |
|---|---|
| 1. Hang and shoulder blades straight-arm hang, scapular pull-ups | Hang 3–4 sets of 15–30 seconds, scapular pull-ups 3 × 6–10. Next: a 45-second hang and 3 × 10 scapular pull-ups with a pause at the top. |
| 2. Horizontal pulling Australian pull-ups, hang | Australian pull-ups 3–4 × 6–12; when they get easy, lower the bar or move your feet further out. Hang — 2 sets at the end. Next: 3 × 12 with the body almost horizontal, touching the bar with your chest. |
| 3. Negatives slow lowering, Australian pull-ups | Negatives 3–4 × 2–4, lowering for 4–6 seconds. Australian pull-ups 2 × 8–10 after them. Next: 3 × 4 negatives of 5 seconds without dropping in the bottom third. |
| 4. Assisted pull-ups band or feet on a bench, negatives | Assisted 3–4 × 3–6 with full range of motion, then 2 negatives. Reduce the assistance when 3 × 6 feels clean. Next: 3 × 5 with the lightest assistance or an 8-second negative. |
| 5. First clean reps single pull-ups, negatives | 4–6 sets of 1 rep with 2–3 minutes of rest, then 2 negatives. Then replace singles with sets of 2. Stage goal: 3 sets of 2–3 clean reps. |
Move on when the stage target is done cleanly in two sessions in a row. For the first 1–2 sessions at a new stage, keep one set of the previous stage's exercise — this makes the transition smoother. If your technique falls apart in the second set at the new stage, go back for a week: this is not a failure but a normal part of progression.
How a single session is built
- Warm-up, 5–7 minutes: shoulder rotations, an easy band pull to the chest or any arm swings, 1–2 sets of scapular pull-ups.
- The main exercise of your stage — first, while your arms are fresh.
- The supporting exercise — next, with less volume.
- Log it: sets, reps, seconds of lowering, which band. Without notes it is hard to tell whether it is time to move to the next stage.
Technique: what to do and where people usually go wrong
An overhand grip slightly wider than the shoulders is the standard. Many beginners find an underhand grip, palms facing you, easier because the biceps work harder. You can start with it, but learn the overhand grip in parallel: that is usually what people mean by a pull-up.
- Start from an active hang: before pulling, draw your shoulders away from your ears and squeeze your shoulder blades slightly.
- Pull your elbows down to your ribs rather than “chin up”: this way the lats work, not just the arms.
- The top position is the chin above the bar, head level, without craning the neck forward.
- Lower to straight arms under control — every rep starts from a full hang.
- Keep the body tight: legs together, abs braced, no swinging.
Common mistakes
- Jerking and swinging. The rep counts, but strength does not grow: the work goes into momentum.
- Half range of motion. The bottom third is the hardest, and it is the part most often skipped.
- Shoulders up by the ears. Pulling without shoulder-blade control overloads the shoulder joint and holds back progress.
- Every set to failure. After such a set the next ones get sloppy, and recovery takes longer.
- Pull-ups every day from day one. Muscles and tendons need a rest day; frequent short sets make sense later, once technique is stable.
Grip and palms
For beginners the grip often gives out before the back: the fingers open at the 20th second of a hang even though there is still pulling strength left. The hang in stages 1–2 trains the grip too, so do not skip those sets even when Australian pull-ups are already easy. Hold the bar with your whole palm and wrap your thumb underneath. Calluses are a normal skin reaction; if the skin cracks, give your palms a couple of days off, and outdoors gloves or chalk will help.
At home, on the playground and in the gym
- At home. A doorway bar works if the frame and fixing can withstand the jerk you might make by mistake. A band hangs on the same bar. Without a bar you can start with Australian pull-ups under a sturdy table, after checking that it will not tip over, and band rows to the chest. But for hangs, negatives and the pull-ups themselves you will still need a bar.
- On the playground. Low bars and parallel bars suit Australian pull-ups, high bars suit hangs and negatives. A bench by the bar is a platform for starting negatives and for resting your feet in stage 4. In cold weather train in gloves: frozen fingers let your grip down before your back does.
- In the gym. The assisted pull-up machine and the lat pulldown are useful additions to stages 2–4, but the pull-up skill is trained on the bar itself. A dumbbell or barbell bent-over row strengthens the back and works as a second exercise if your overall volume allows it.
Plateaus and excess weight
If your result has not grown for two or three weeks, check in order: are you sleeping enough, are you training too often, are you going to failure in every set, and is your range of motion full. An easier week with half the sets often helps, and progress resumes after it. A second working approach is to change the variation within your stage: a pause at the top, a slower negative, a different grip.
A pull-up is strength relative to body weight, so with excess weight stages 2–4 take longer. That is no reason to give up on the goal: stay longer on Australian pull-ups and assisted work, and introduce negatives carefully, in short sets — they put a heavy load on the elbows and tendons. Losing weight speeds up progress, but that is a separate task for nutrition and the overall training plan.
How to combine it with running and other sports
Pull-ups load the back, arms and grip and hardly compete with the legs, so they combine well with running. But fatigue is shared across everything, and order matters.
- Put pull-ups on an easy running day — after the run or as a separate short session at another time of day.
- Do not put the level test or maximal work next to intervals or a long run: those need freshness, and this needs focus on technique.
- If you already do 1–2 strength sessions a week, fit the pull-up stages into them rather than adding separate days. How to distribute strength work across different running disciplines is covered in the article on strength for road, trail and mountain running.
- With poor sleep and a heavy running week, cut pull-up sets first: progress on the bar can wait, while overload affects everything.
When to stop
Muscle fatigue and a heavy feeling in the back the next day are a normal reaction to a new load. Sharp pain in the shoulder or elbow, numbness or tingling in the arm are a reason to stop the session immediately and see a doctor, not to push through the pain.
Frequently asked questions
How many times a week should I train on the bar if I also run?
Two sessions are usually enough if they are not next to hard running days. Add a third when your sleep and recovery are in order and your pull-ups go without failure.
Can you learn to do a pull-up in a month?
It depends on which stage you start from. From stages 4–5, first reps within a month are quite likely; from the hang, a month more often goes into preparation. Follow the stage targets, not the date.
Does a resistance band help you learn pull-ups?
It helps as a step: with it you go through the full movement path. The trap is working with the same thick band for years. Reduce the assistance as you get stronger and combine the band with slow negatives.
What if excess weight gets in the way?
Do not skip horizontal pulling and pull-ups with your feet supported — they give you volume without overloading the elbows. Introduce negatives in short sets and watch your technique: in this exercise your whole body weight works against you.
Why is my pull-up number not going up?
Most often it is one of four things: lack of sleep, training too often, failure in every set or a cut range of motion. Start with an easier week and an honest log of your sets — it shows where progress got stuck.
If you want a ready-made plan with a week-by-week schedule, start with the 8-week program. If you want the stages to adapt to you, get a personal strength program from the AI coach at 1trAIner. Tell the chat about your current level, your bar or band and your free days — the AI will put together a program. Describe completed sets and reps in text in the chat, no watch required, and it will adjust your next sessions. If you also run, strength and running are managed in one shared plan. The first 7 days are free.