
On a descent, it's not enough to be able to move your legs quickly: you need to repeatedly brake your own body weight, keep your footing on rocks and roots, and stay in control when you're already tired. Strength training for trail running prepares you for these tasks, not for gym records. The foundation is six movement blocks that can be split across two short sessions. They complement practice on the terrain but don't replace it.
Why downhills require separate preparation
With every landing on a descent, the muscles on the front of your thigh work eccentrically: they generate force while lengthening, helping to slow knee flexion. There are many such repetitions on a long descent. Your breathing may stay relatively calm, so judging the load only by heart rate is inconvenient: the work for your legs is already substantial, even though the cardiovascular effort feels moderate.
An uneven trail adds other challenges. Your foot meets the surface at a new angle each time, your ankle changes position, and your pelvis and torso help maintain balance. By the end of the distance, it becomes harder to place your foot precisely and choose your stride length. What's needed here is not one "strong muscle" but the ability to coordinate movement under load.
- Braking. Controlled lowering in a strength exercise lets you specifically train an effort similar in nature to holding your weight on a descent.
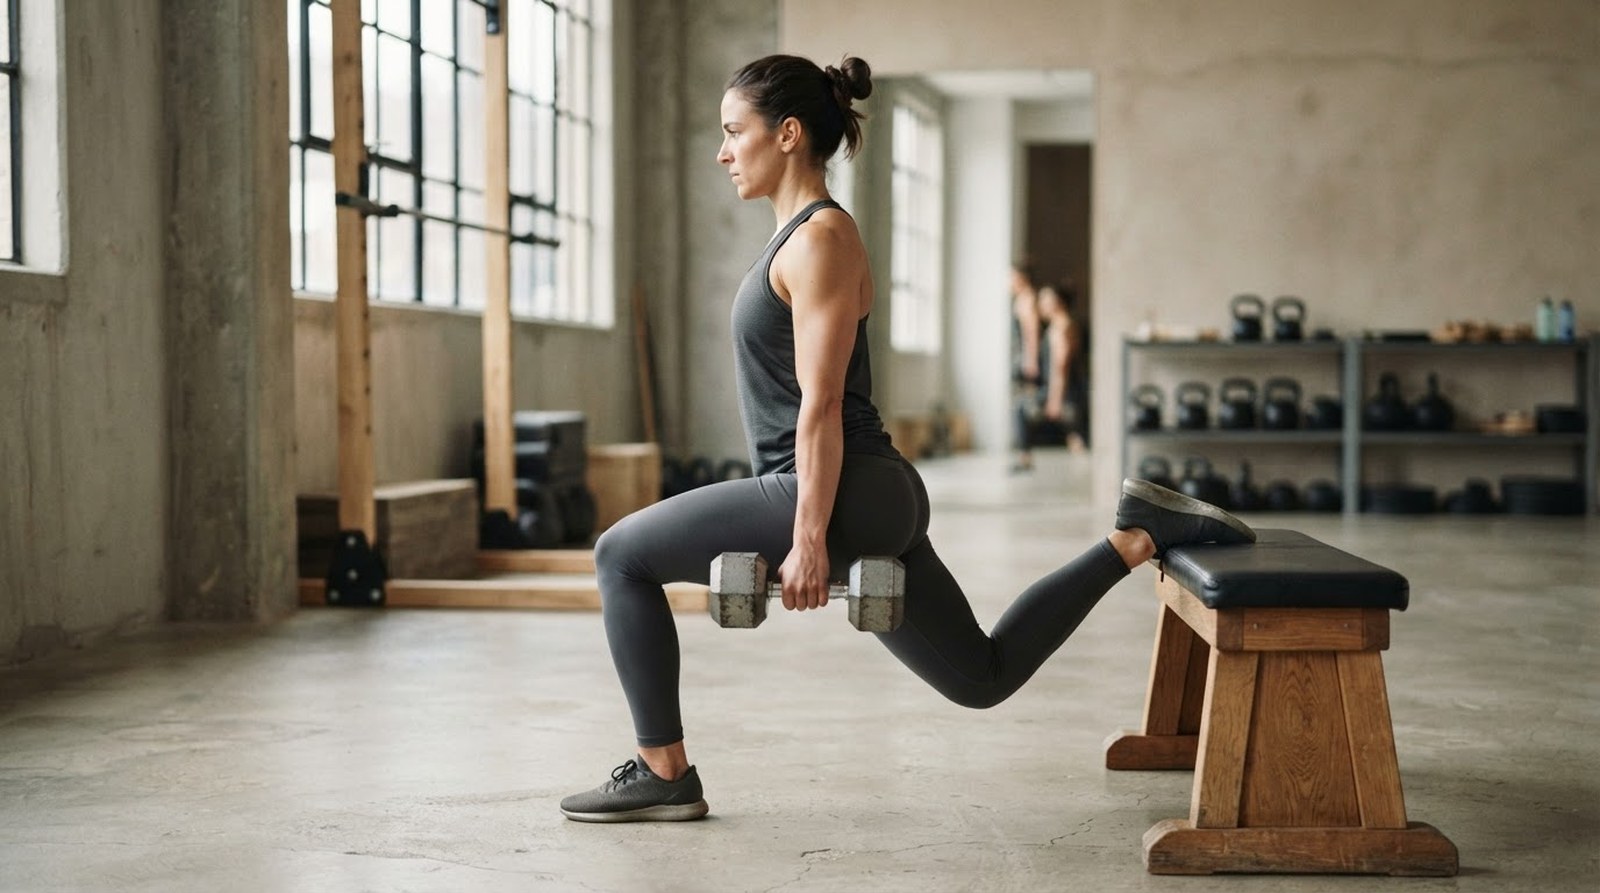
- Single-leg work. Performing movements on one leg requires control of the foot, knee, and pelvis, not just lifting weight.
- Maintaining position. Torso work helps you manage your upper body while your legs solve different tasks on uneven ground.
At the same time, stable performance of an exercise in the gym doesn't yet mean you're ready to run fast on a technical trail. Choosing a line, scanning ahead, and reacting to the surface are trained on the terrain itself, gradually increasing difficulty. Strength training provides additional load, not permission to immediately increase speed and descent length.
Six blocks: what to do and what to watch for
Below are six main tasks and movements for them. In the posterior chain block there are two options: the bridge serves as an accessible starting point, while the nordic hamstring is added separately and in small doses. All numbers are guidelines for a calm working session, not a mandatory norm. Choose the option in which you can repeat the movement without losing control.
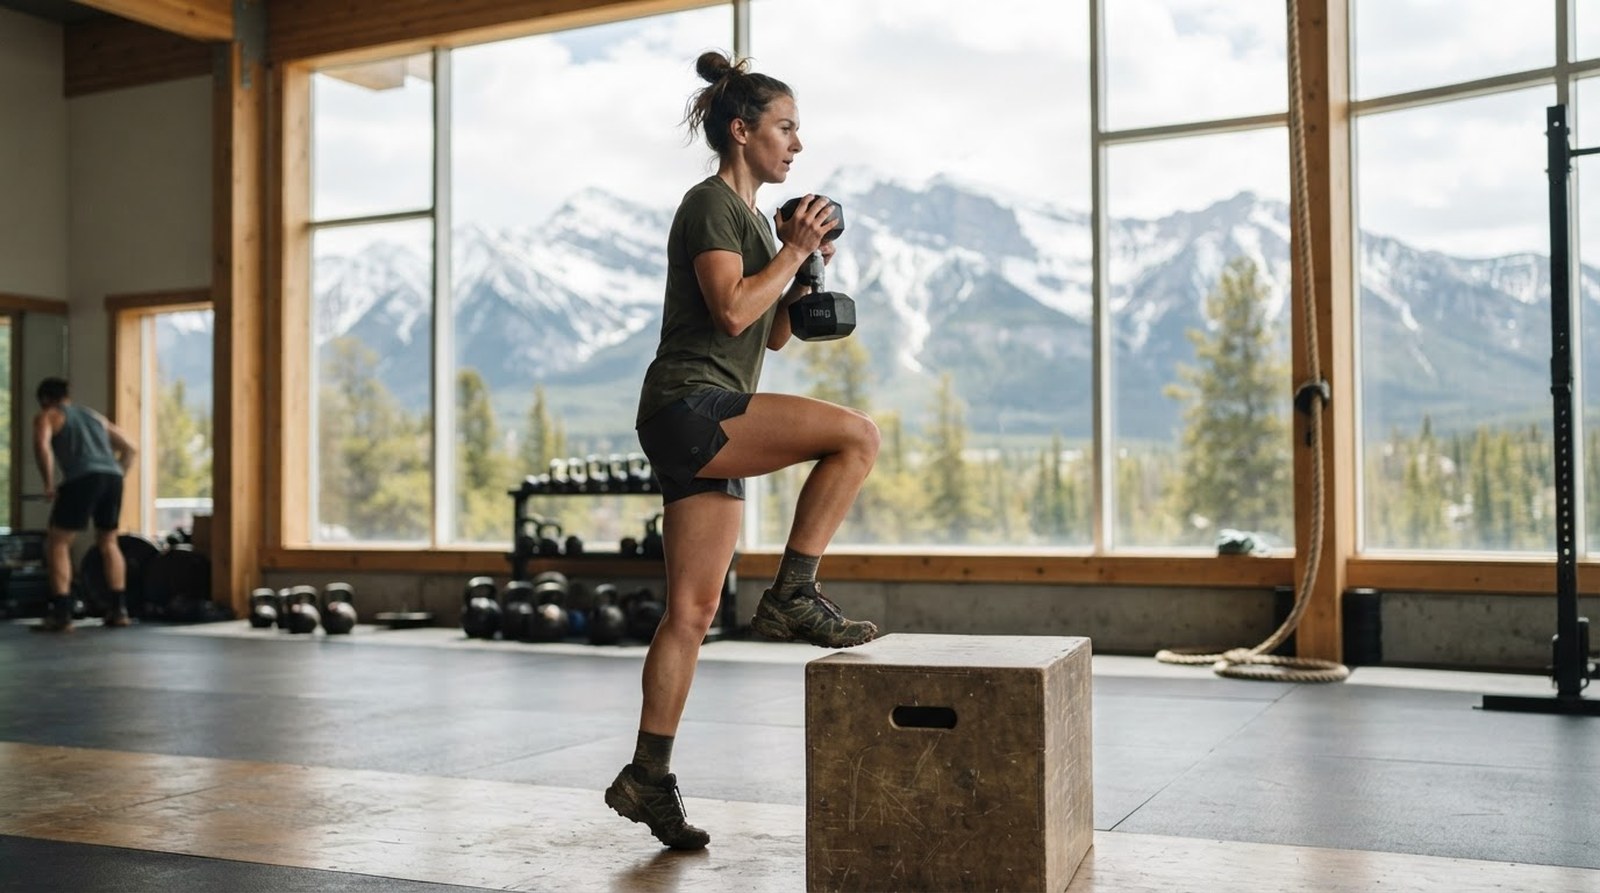
1. Quadriceps eccentric: lowering from a low step
Stand on one leg on a stable step, leave the other leg off the edge. Over 3–4 seconds, bend the supporting leg and lightly touch the floor with your free heel. You can return to the top using both legs or by supporting yourself with your hand: right now, the quality of the lowering matters more. Keep your pelvis from noticeably dropping, and direct your knee roughly along the line of your foot, without trying to rigidly lock the joint.
Start with a guideline of 2 sets of 6–8 reps per side. Choose the height based on the range of motion you can control: touching the floor shouldn't turn into a fall on the last part. First make the lowering smooth, then add reps, and only after that add a small external weight. A higher step also increases difficulty, so don't change both parameters at once.
2. Posterior chain: bridge and a gradual introduction to the nordic hamstring
Start with a glute bridge: lying on your back, place your feet on the floor and lift your hips by extending at the hip joints, without excessive arching in the lower back. Do 2 sets of 8–12 reps. Once the two-legged version feels confident, you can choose a single-leg bridge with fewer reps. Make sure your hips don't rotate along with the free leg.
The nordic hamstring is more demanding work for the back of the thigh. From a kneeling position with your lower legs securely anchored, slowly lean the straight line from knees to shoulders forward, then catch your weight with your hands on a stable support. Use band assistance or a short range of motion. To get started, 1 set of 3–5 controlled reps is enough; you don't need to do both the bridge and the nordic at full volume right away. Without reliable anchoring and clear technique, stick with the bridge.
3. Ankle and calves: calf raise with a slow lowering
Holding onto a fixed support with one hand, rise onto your toes and lower your heel smoothly. Don't roll onto the outer edge of the foot and don't help yourself by swinging your torso. Start on the floor with both legs, then progress to one. In different sessions you can use a straight and a slightly bent knee: the position changes the emphasis of the calf muscles.
A guideline is 2 sets of 10–15 reps with a 2–3 second lowering. End the set if the range of motion noticeably decreases. To make it harder, add a small weight while keeping the same quality, not endless fast bouncing. The foot actively controls the support here: the big toe keeps contact with the surface, and the other toes don't need to be clenched tightly.
4. Single-leg balance: reach with a touch to a target
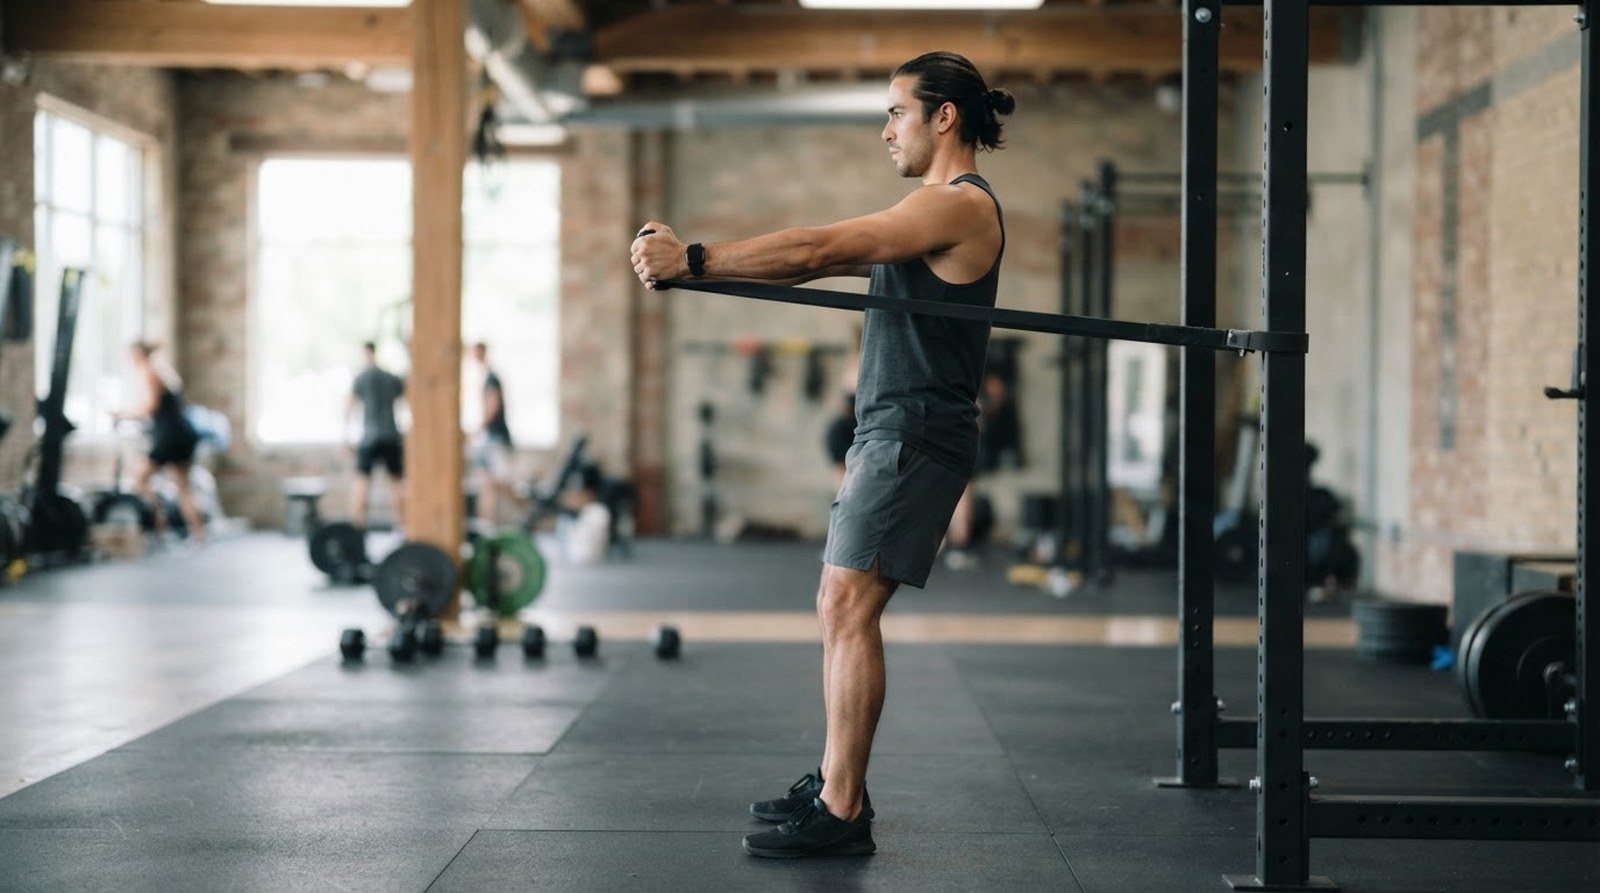
Standing on one leg with a softly bent knee, push your hips back and reach with your hand toward an object in front of you. The free leg goes back, and your hips stay roughly parallel to the floor. Return without jerking. Choose the target height so you don't have to round your back to touch it. Light support with your hand is acceptable if without it all your attention goes to trying not to fall.
Do 2 sets of 5–8 slow reps per side. Start on a solid floor. An unstable platform isn't necessary: it can make it harder to apply force and assess technique. Later you can slightly change the direction of the touch while keeping the same stable support.
5. Core: side plank
Place your elbow under your shoulder, lift your hips, and hold your torso without sagging or rotating. An easier option is on bent knees. Keep breathing calmly: holding your breath and shaking all over aren't the goal. Start with 2 holds of 15–30 seconds per side, choosing the duration based on the quality of your position.
If the upper limit feels comfortable, make the lever or support variation harder rather than trying to hold for several minutes. For a runner, a repeatable controlled effort that leaves energy for the rest of the movements and the run is more useful than one maximal set.
6. Mobility: moving the knee forward over the foot
Stand facing a wall, place one foot forward and smoothly drive the knee toward the wall while keeping the heel on the floor. Move within a comfortable range without forcing or bouncing. Adjust the distance to the wall so the foot does not turn out just to gain extra centimetres. A guideline is 1–2 sets of 6–10 easy movements per side.
This block is not strength work in the strict sense: it is meant to help you get familiar with your available ankle movement and control it. Do not try to achieve identical range on the right and left at any cost. Mobility does not replace calf work, and greater mobility alone does not guarantee stability on rocks.
How to fit two sessions into a running week
A practical guideline is two sessions of 30–40 minutes, including a short warm-up and rest between sets. This is not a minimum you must hit at any cost: after a break you can start with one shortened session. Do not schedule strength work on the day of a long run or right before downhill work. For new eccentric loading, it makes sense to leave about 48 hours before a key downhill session first, and to extend the gap if your legs have not recovered yet.
For example, with downhill work on Thursday and a long run on Sunday, strength windows can be found on Tuesday and Friday. The Friday session works only if recovery after Thursday is normal and it does not leave your legs heavy for Sunday. If that setup does not work, shorten it or move it rather than trying to keep two marks in the calendar at any cost. The weekly outline below is a guideline for distributing load, not an individual schedule.
- Session A. After the warm-up — step-downs, bridge, calf raises and side plank. A short mobility block can be included in the warm-up.
- Session B. Single-leg hinges, a familiar posterior chain variation, calf raises with a different knee position and mobility. Nordic replaces part of the posterior chain work rather than being added on top automatically.
- Pauses. Between sets, 60–120 seconds is often enough. Focus on breathing recovery and the ability to repeat the technique; complex movements may need more time.
On an easy run day, you can do strength work later, separating the sessions by a few hours if convenient. If time is short, drop one set rather than cutting all pauses into a circuit race. Consider the total load: a week with new terrain and a lot of downhill already includes unfamiliar work for the legs.
Progression: control, then volume, then weight
In the first few sessions, find a stable base, a suitable range of motion, and a pace. For most movements, 1–2 sets are enough during the introduction phase. Then you can settle into 2 sets and gradually approach the upper end of the rep range. A third set only makes sense when the current volume doesn't interfere with running and recovery; it isn't required for every exercise.
Leave a reserve of about 2–3 quality reps, and more for a new movement. This is a subjective guideline: if the next rep would require a jerk or loss of position, the set is already worth ending. In the nordic, the boundary of controlled lean is especially important, not trying to go lower at any cost.
- Control first. Repetitions look similar from the start to the end of the set, and the lowering speed doesn't break down.
- Then volume. Add 1–2 repetitions to the chosen exercise while keeping the other parameters the same.
- Then load. Add a small weight or a more difficult variation and return to the lower end of the repetition range.
Don't increase weight, number of sets, and volume of running descents at the same time. Assess not only the gym session but also the next easy run: do your legs move as usual, does your stride change because of fatigue. Pronounced muscle soreness is not an indicator of usefulness. If recovery drags on, return to the previous volume instead of making the load a mandatory part of the plan regardless of how you feel.
Mistakes that get in the way of running work
- Going all out before a key workout. Maximal sets for the legs the day before descents turn technical work into a workout done on fatigue. Keep a reserve and enough interval between loads.
- Isolation instead of main movements. A separate exercise for a muscle can be a useful addition, but it doesn't replace control of the whole leg in support. Keep lowers, hinges, and hip work in the program, not just exercises sitting in machines.
- Ignoring the foot. Strong thighs don't do the ankle's job for it. Watch your support in calf raises and single-leg movements, don't grip the floor with your toes.
- Difficulty for difficulty's sake. Heavy weight, a high step, and an unstable surface at the same time make control harder. Change one parameter and check whether the exercise stays manageable.
In 1trAIner, the AI coach builds the plan as a cascade Season → Month → Week → Day. Data from Garmin and Apple Watch syncs automatically, and the week is recalculated after every workout. The first 7 days are free — you can see how strength training fits into your running schedule.
This material is for informational purposes only and does not replace a doctor's consultation.