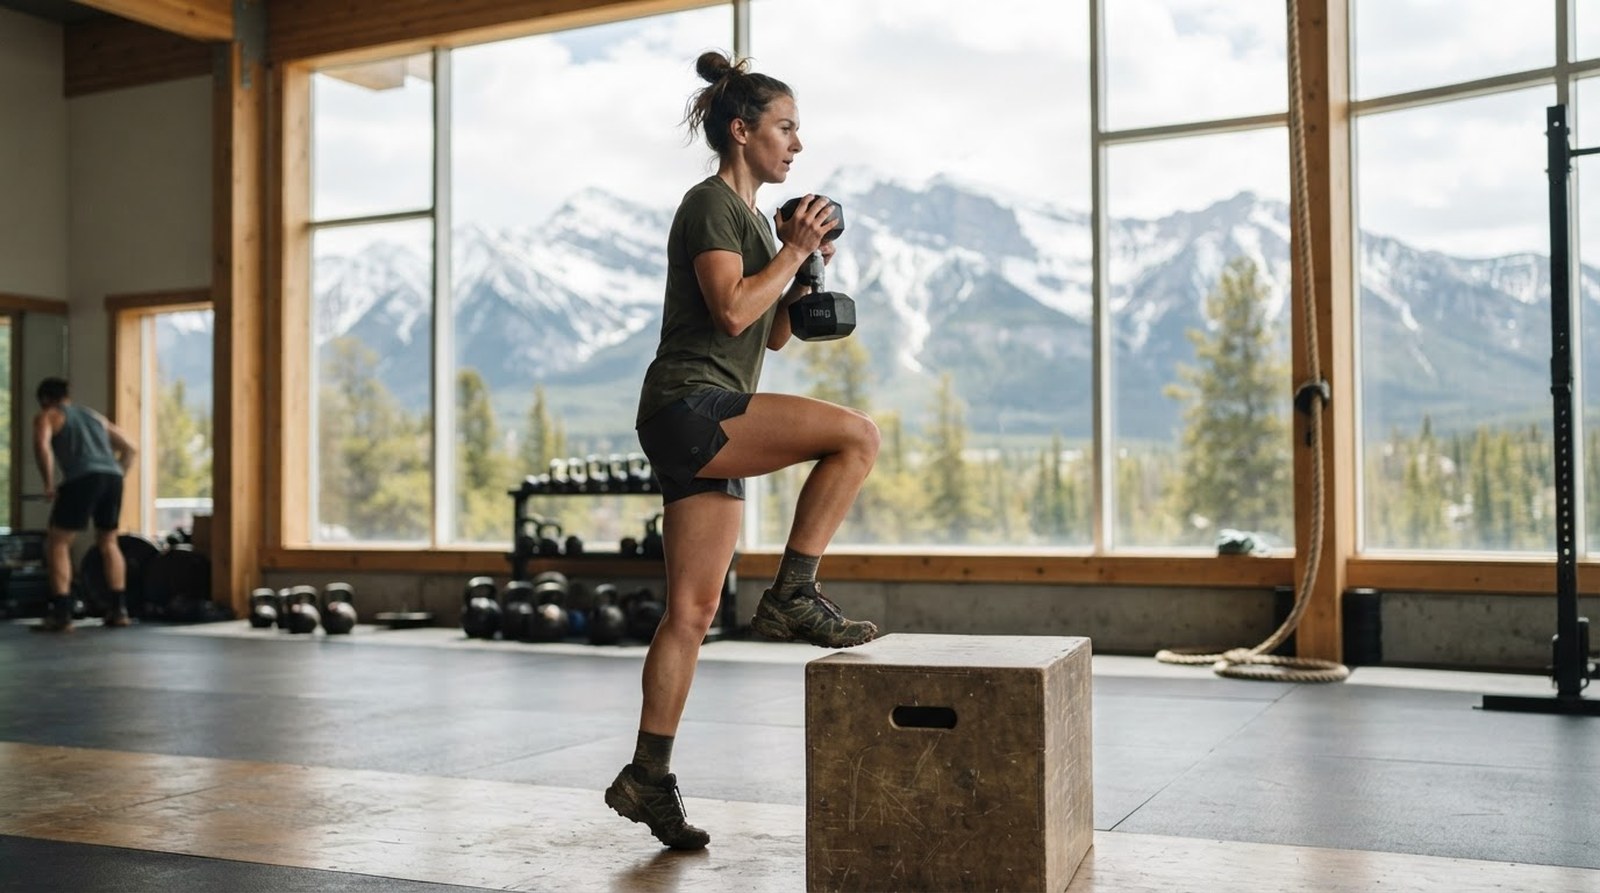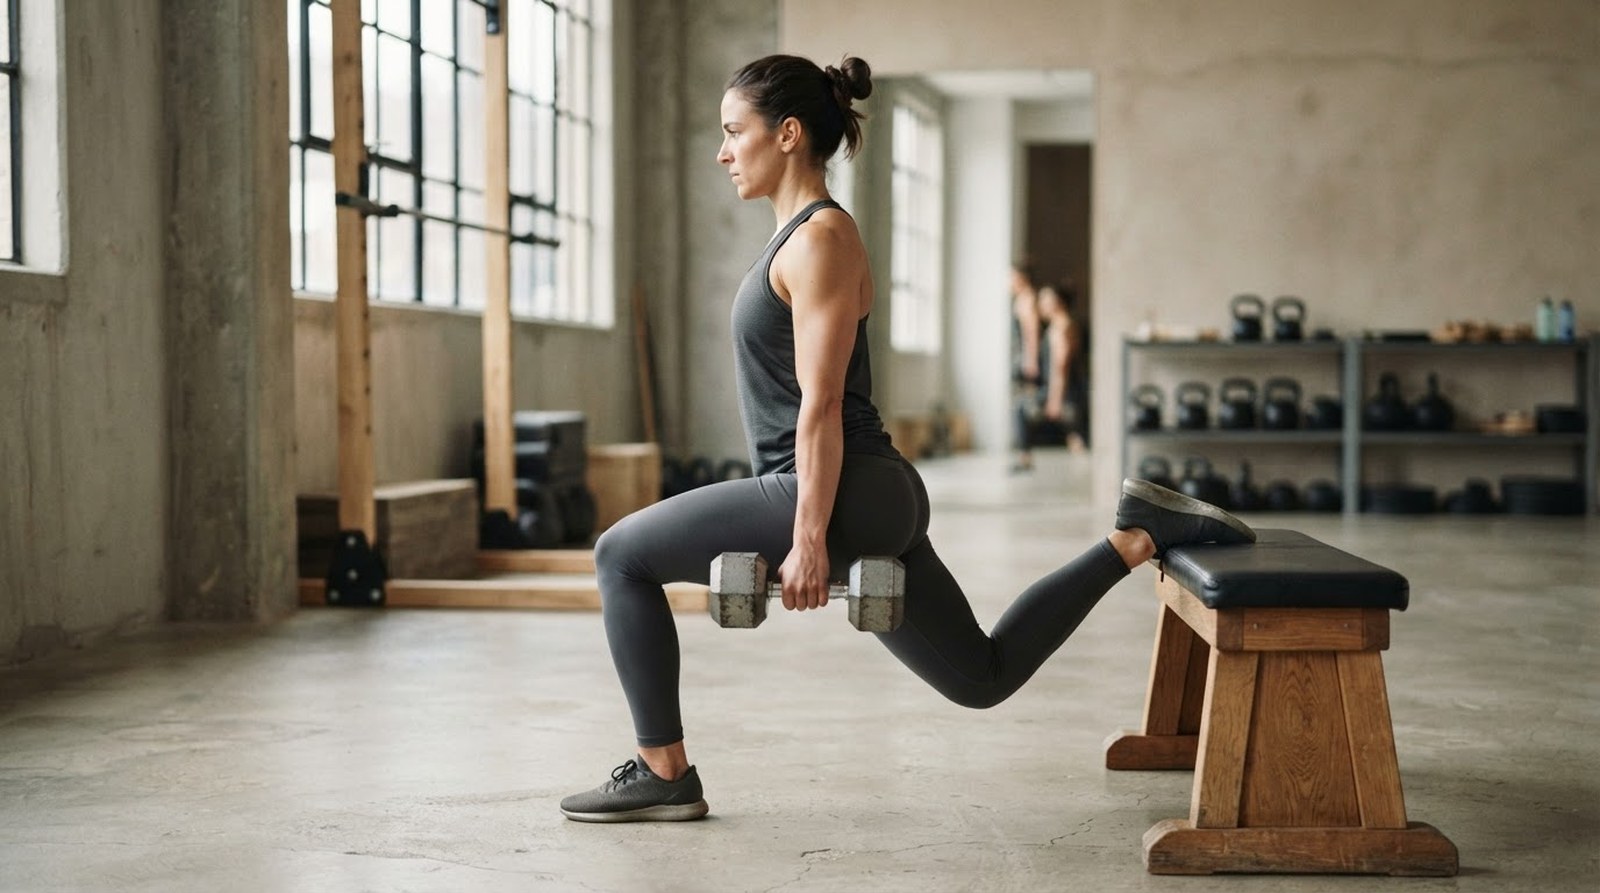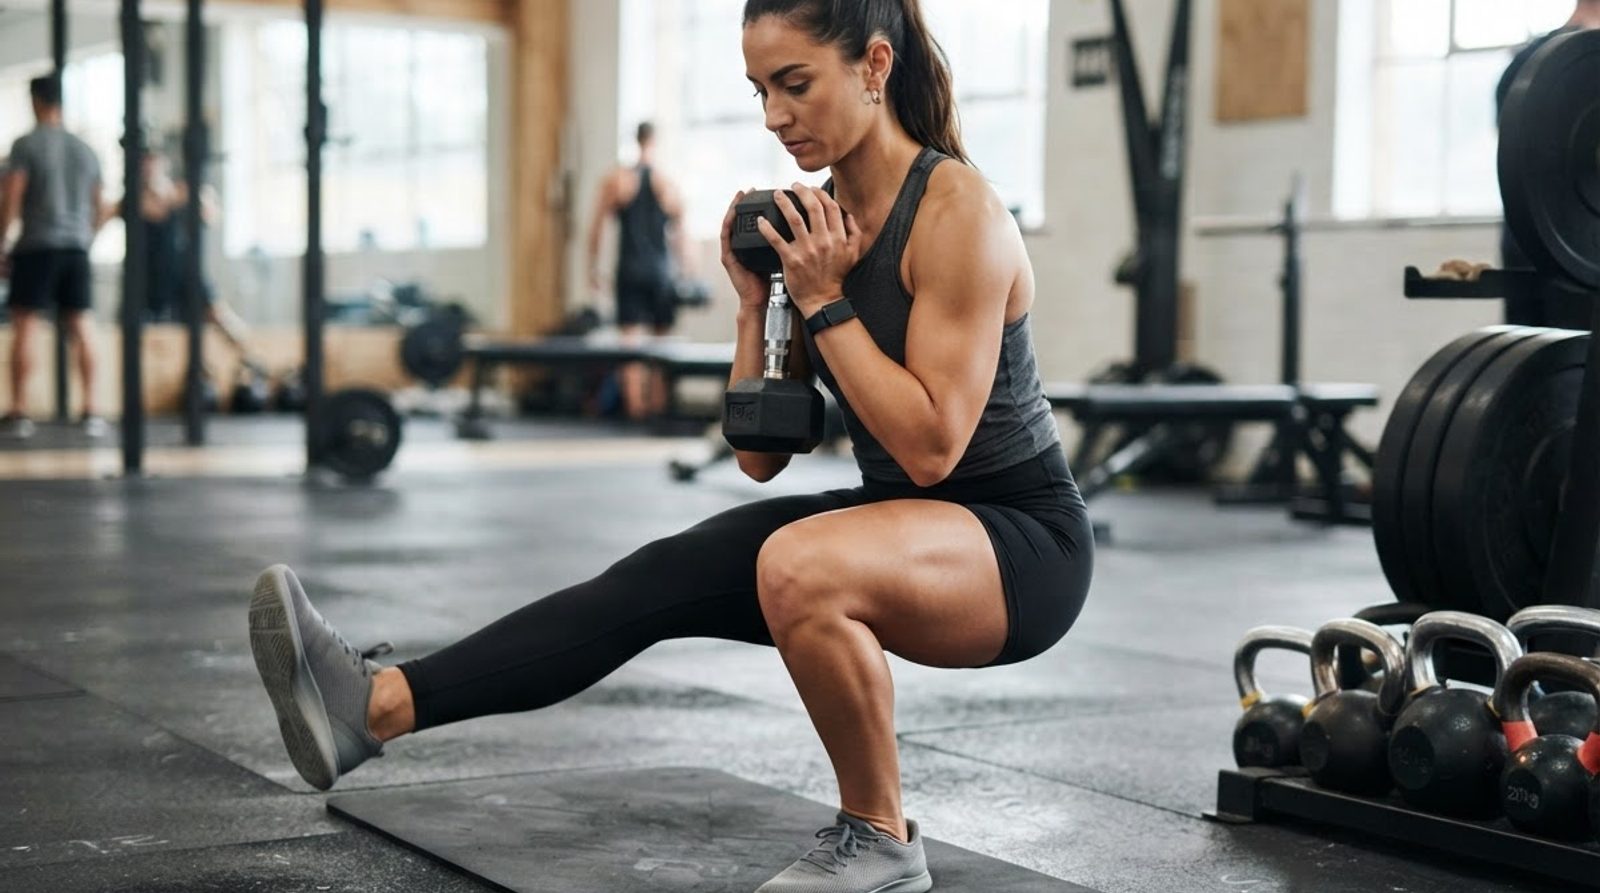
A runner needs a core that helps maintain pelvis and ribcage position while the legs and arms move. The goal isn't to 'crunch abs' or freeze into a rigid block, but to keep each step from uncontrollably rotating the pelvis and ribcage relative to each other. On tired kilometres, losing this control often becomes noticeable earlier than other changes in form: the shoulders swing more, the pelvis drifts to one side, and holding your usual stride gets harder.
Plank: quality of position instead of a stopwatch
Running involves natural rotation of the pelvis and ribcage. You don't need to eliminate it completely: the core manages movement, not forbids it. When support shifts from one leg to the other, the trunk muscles together with the hip muscles limit excessive twisting, side bending, and extension. That's why for a runner it's important not only to hold a pose but also to maintain control while the limbs move.
Two minutes in a plank don't prove stability in motion. Sometimes it's just two minutes of endurance: the lower back has already sagged, the shoulders have risen, breathing is held, but the stopwatch is still running. The plank itself isn't useless. It provides a clear starting task if you assess body position rather than a duration record.
- Time guideline. Start with 1–2 holds of 20–40 seconds if you can maintain position and breathe freely. With little experience, shorter intervals or supporting your hands on an elevation will work.
- Stopping criterion. End the hold when your lower back starts to sag, your pelvis noticeably rises, or you have to hold your breath. Don't wait for complete failure.
- Next step. If the task becomes easy, add controlled movement or lateral resistance rather than another minute on the stopwatch. Difficulty depends on experience and where strength work sits in your current week.
Dead bug and bird dog: move the limbs without losing the core
These exercises let you separate arm and leg movement from lower back movement. Speed only gets in the way of assessment here: momentum helps you complete a rep but hides the moment you lose position. Starting guidelines — 1–2 sets of 4–6 reps per side, about 2–3 seconds per limb extension, a short pause, and a calm return. Rest as long as you need to recover your breathing and control.
- Dead bug. Lie on your back, raise your arms, and bend your legs at the hips and knees. Find a stable lower back position without excessive arching. Slowly extend the opposite arm and leg, preventing the ribs from lifting and the lower back from arching more. Return and switch sides.
- Dead bug simplification. Keep your arms still and alternately touch the floor with the heel of a bent leg. The range ends where you still control your lower back, not necessarily at the floor itself.
- Bird dog. Get on all fours, hands under shoulders, knees under hips. Extend the opposite arm and leg as if lengthening your body. Don't lift the leg for height, don't rotate the pelvis, and don't shift all your weight onto the supporting side.
Breathe freely throughout the rep. You can gently exhale as you extend the limbs, but don't turn breathing into a rigid ritual. The set ends when you lose position, even if you're far from the planned number of reps. A beginner needs just one variation; an experienced runner should first increase controllable range, and only then add reps or resistance.
Pallof press: resisting rotation
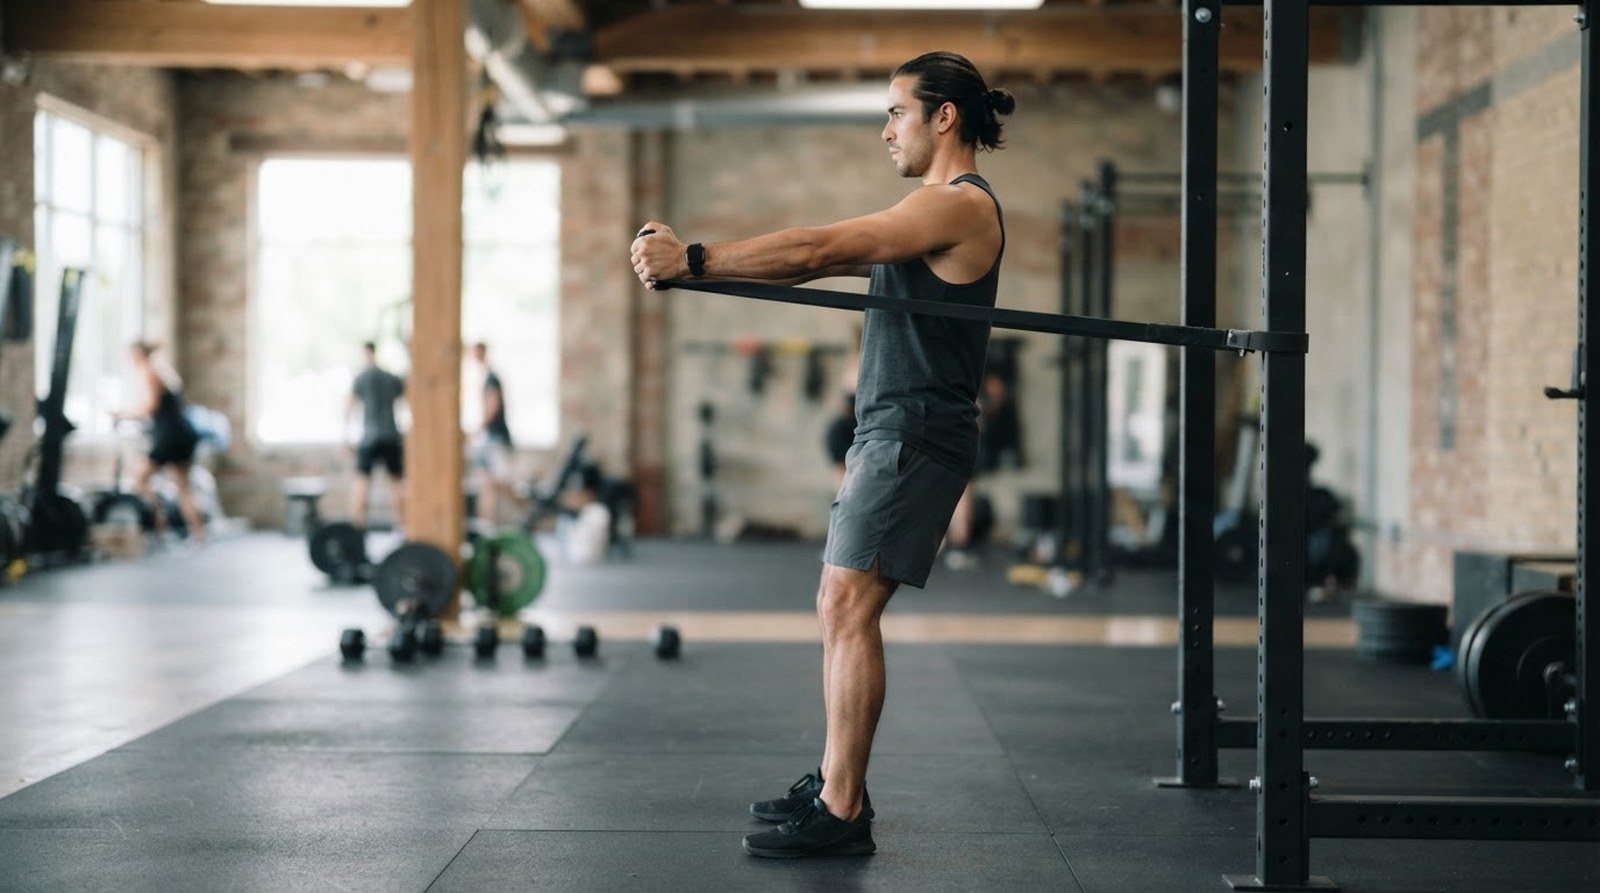
Anti-rotation is the ability to resist an external force that twists your torso. In the Pallof press, that force is created by a band or a cable machine. Stand sideways to a band anchored securely at about chest height, grab it with both hands, and hold your hands in front of your chest. Set your feet stably, keep your knees slightly bent, and point your pelvis and shoulders forward.
Slowly press your hands forward, hold for 1–2 seconds, and bring them back to your chest. The farther your hands are from your body, the harder it is not to turn toward the anchor. Don't compensate for the tension by rotating your pelvis, leaning, or arching your lower back. If your torso drifts to the side, reduce the resistance or the range of motion. Check the anchor and the condition of the band before starting the set.
To get familiar with the movement, 1–2 sets of 6–8 reps per side with a calm press and return will do. Choose the tension based on the quality of your pause and breathing, not on the color of the band. In the base period, you can gradually make the task harder; closer to a race, it's more important to keep a familiar load without extra fatigue.
For mountain trail running, anti-rotation is focus number three after basic single-leg strength and getting your legs ready for eccentric braking. This is an order of emphasis, not a universal ranking of exercises. On a technical descent, uneven footing and arm work create twisting forces you need to manage. The Pallof press trains one element of that task but doesn't replace descent practice. The basic strength set is covered in the article "Strength for trail running: six exercises for descents".
Suitcase carry: walking with weight in one hand
Carrying a dumbbell or kettlebell in one hand adds steps and asymmetric load to holding your torso steady. Among the exercises listed, it's functionally closest to running with a backpack, a handheld flask, or poles: you have to control your position while moving. It's not an exact copy of any of those situations, especially a symmetrically packed backpack, but it's an accessible way to train stability with off-center weight.
Take the weight in one hand and walk at a normal, calm pace on a flat, clear stretch. Keep your shoulder and hip lines roughly horizontal, without leaning toward or away from the weight. Don't pull the loaded shoulder toward your ear and don't try to balance the kettlebell with your arm held out to the side. Keep your torso braced, but keep breathing.
A starting guideline is 1–2 passes of 20–30 seconds per side. The weight is right if your gait stays even and you can calmly say a short phrase. If your grip gives out before your torso does, don't turn the carry into a grip strength test: shorten the pass or lighten the weight. Increase only one parameter at a time — weight or duration — taking into account your experience and your upcoming running load.
Stiffness without holding your breath
The habit of holding your breath for stiffness can come from heavy strength work. But running requires you to maintain torso control over and over while breathing at the same time. If every band press or a few steps with a kettlebell only work when you hold your breath, the resistance doesn't match the task yet. Lower it and check whether you can keep taking calm breaths in and out without losing your position.
You don't need to pull your belly in for the whole workout or constantly tense at maximum. You need enough effort for the specific movement. At the end of an easy run, it may feel different than at the start of a fresh strength session. So compare not only reps but also movement quality, breathing, and how you feel overall.
The diagram illustrates changes in a conventional energy reserve over the day; it doesn't measure core strength. Even a similar reading on your watch doesn't determine your readiness for a specific exercise. If after a workday and a run you have to do the usual version in jerky reps, shorten the block: the number in the plan matters less than control.
How to fit core work into 10–15 minutes
Usually a short block after an easy run or at the end of strength training 2–3 times a week is enough. A runner doesn't need a separate "ab workout". Start with two sessions and a small volume; a third only makes sense when recovery and running quality don't suffer. You don't have to do all the exercises at once.
- First block. Dead bug, Pallof press and suitcase carry: 1–2 sets in the described ranges, with pauses for recovery of control.
- Second block. Bird dog, Pallof press and a short quality plank. If time is short, leave two exercises instead of speeding up the reps.
- Progression rule. First stable position and free breathing, then increase range of motion, reps or weight. With accumulated fatigue, move in reverse order.
Before the mountain season, set aside 8–12 weeks to develop pure strength: start with gradual mastery of eccentrics and basic single-leg exercises, and add the core as part of the system. The posterior chain must not be skipped in any running discipline: anti-rotation does not replace work of the glutes and hamstrings. Introduce new or noticeably intensified eccentrics smoothly and do not place them 2–3 days before a long workout: delayed soreness may not show up right away.
Closer to the race, the principle of specificity applies: exercises and the conditions you do them in gradually bring you closer to the real mechanics of the task. For the core, that means above all control during strides and asymmetric load, not heavy carries over rocks. Strength training to failure before a key running session steals running quality. In a dense week, it's better to drop a set than to carry fatigue into intervals or a long run.
All the dosages here are guidelines for learning, not a mandatory norm. They're adjusted based on experience, the phase of preparation and the presence of pain. Technique matters more than weight: if pain is above 3–4 out of 10, stop the exercise; a lower score doesn't mean you should push through the pain. If you have an injury or recurring pain, the decision about whether the load is acceptable is made by a doctor, not by a rep table.
In 1trAIner, the AI coach builds a plan through the planning cascade Season → Month → Week → Day. Data from Garmin and Apple Watch watches syncs automatically, and the week is recalculated after every workout. First 7 days free.
This material is for informational purposes and does not replace a doctor's consultation.